
ibook disassembly
As promised, pictures of my ibook disassembly to replace the broken reed switch cable. This has been well documented elsewhere, but let me assure you it takes a long long time to take everything apart. And i do mean everything.
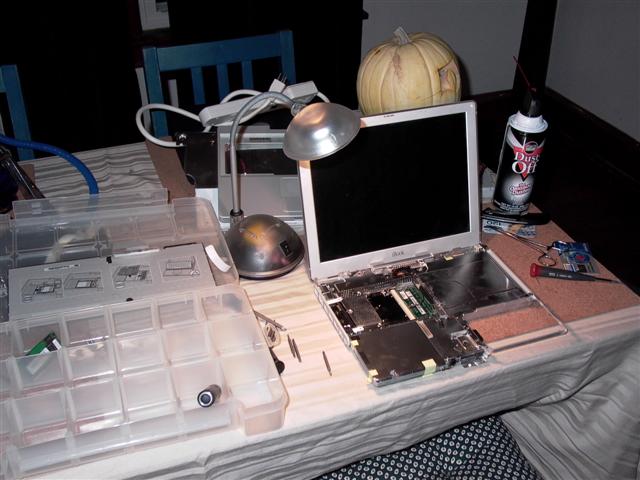
Starting off is easy enough. This is very early in the process. I’ve taken out the battery, keyboard, RAM, wireless card, top case & working my way down. Note the blowjob-in-a-can, precision standard and torx screwdrivers, foreceps, pocketknife and credit card (used to spread the case).
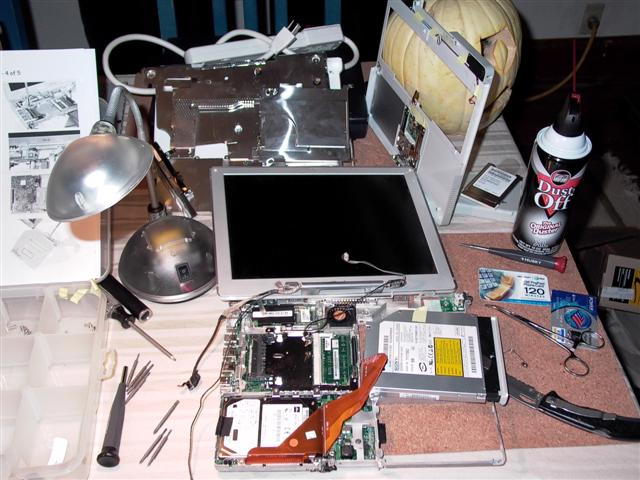
Now about to remove the optical drive, perhaps an hour into the disassembly. Bottom of ibook is almost 100% apart – notice the reynolds wrap-style shielding above the screen.
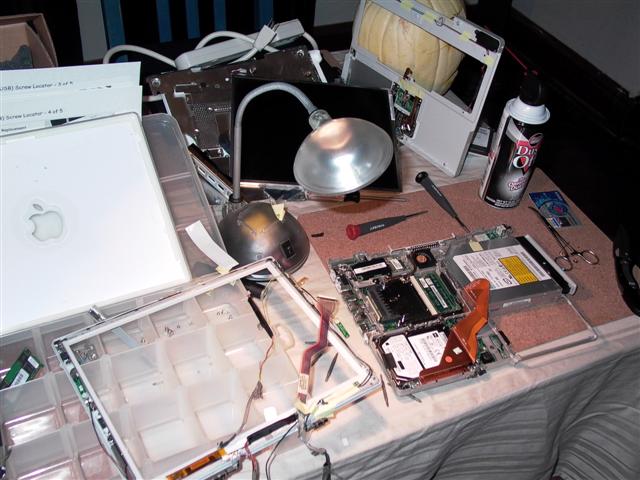
And here, completely disassembled. Starting at the middle left, you can see the screen case, screen frame (where the offending cable was anchored), logic/processor/disk unit sitting on top of the bottom case, the top case (leaning on the pumpkin), the screen (piled on top of the shielding) and screw locators for the disassembly.
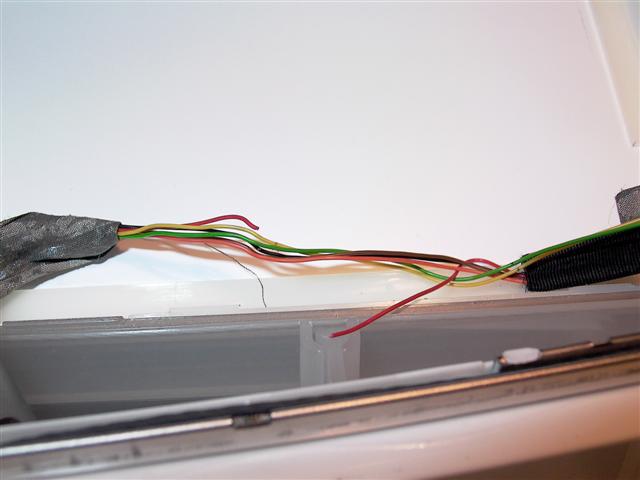
And here’s the problem – one broken wire in the reed switch cable. Constant opening and closing of the lid places a lot of stress on the cables run through the hinges (some manner of torsional fatigue limit testing should’ve identified this problem early on.
Next up: painting the case.